Ubiquiti USG
This guide was developed using a Ubiquiti Cloud Key v2 with UniFi Network v7.1.61. Following the first method below will have you adding your Pi-hole as a DNS server for all devices on your LAN. Following the second method below will have DNS queries route through your USG and then to your Pi-hole. Either option is valid, depending on your specific requirements, but it is recommended to choose one or the other - not both.
Note
While this guide attempts to cover both IPv4 and IPv6, your mileage may vary.
Grab your IPv4 and IPv6 address from your Raspi
SSH into your Raspi. A quick ifconfig eth0 (substituting eth0 for the applicable network interface) will get you the address information:
eth0: flags=4163<UP,BROADCAST,RUNNING,MULTICAST>  mtu 1500
        inet 192.168.0.9  netmask 255.255.255.0  broadcast 192.168.0.255
        inet6 2001:470:5:3::8ed  prefixlen 128  scopeid 0x0<global>
        inet6 2001:470:5:3:8d70:e92e:7030:6eef  prefixlen 64  scopeid 0x0<global>
        inet6 fe80::337f:710d:6781:4c85  prefixlen 64  scopeid 0x20<link>
        ether dc:a6:32:0e:31:2d  txqueuelen 1000  (Ethernet)
        RX packets 1297459  bytes 1279521260 (1.1 GiB)
        RX errors 0  dropped 0  overruns 0  frame 0
        TX packets 2315988  bytes 2766370095 (2.5 GiB)
        TX errors 0  dropped 0 overruns 0  carrier 0  collisions 0
Take note of the inet address, and the inet6 address which starts with fe (denotes a local link or LAN address). Those are the IPs which you'll use as your DNS servers in the USG. For this example, we'll be using the 192.168.0.9 and fe80::337f:710d:6781:4c85 IPs for the following directions.
Method 1: Distribute Pi-hole as DNS server via DHCP
Choosing this option will have DNS queries taking the following path:
(Clients) -> Pi-hole -> Upstream DNS Server
Go to Settings --> Networks and click on the Network line that you want to modify:

Under DHCP, in the DHCP Server Management section click "Show options" to reveal the DHCP DNS Server section. Check the Enable box and enter your Raspi's IPv4 address here.

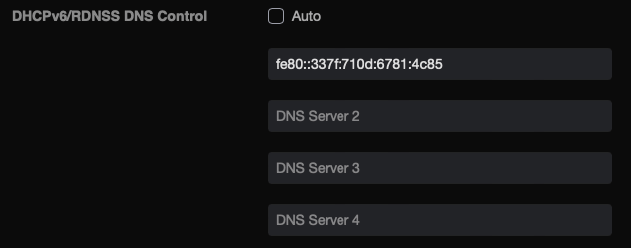
Scroll down to IPv6, and under the DHCPv6/RDNSS DNS Control section, uncheck Auto if it's enabled and enter Raspi's IPv6 address here. Click Apply Changes to have the settings persistently saved.
All client devices on your network should now automatically be configured with a single IPv4 and single IPv6 address for DNS resolution. If you don't see your client devices update quickly enough, you can toggle Wi-Fi off/on or disconnect the Ethernet cable for a couple of seconds and then reconnect it.
Method 2: Using your Pi-hole as a resolve for your USG
If you'd rather have your USG forward all DNS traffic to Pi-hole, you can complete this alternative step. Doing so will have DNS queries taking the following path:
(Clients) -> USG -> Pi-hole -> Upstream DNS Server
Warning
Keep in mind that if you are using your USG's IP address as an upstream resolver for your Pi-hole together with this configuration, this will cause a resolver loop. Make sure to have another upstream DNS server(s) set in your Pi-hole's configuration, or use Pi-hole as your own recursive DNS server with Unbound.
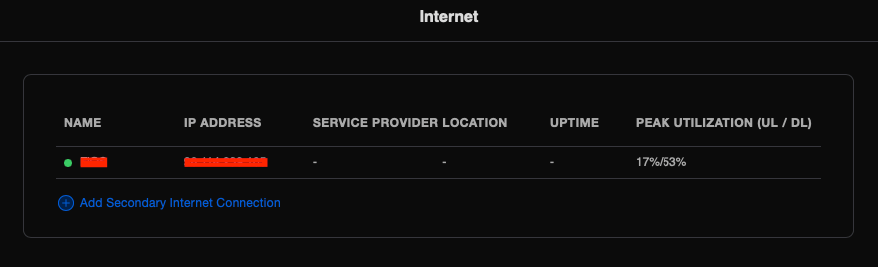
Log into your Unifi Cloud Key. Go to Settings -> Internet. Click on the WAN line that appears.
Under Advanced, in the DNS Server section uncheck the Auto box and add your Raspi's IPv4 address. This allows your USG to use Pi-hole for all DNS lookups. Click Apply Changes to have the settings persistently saved.
